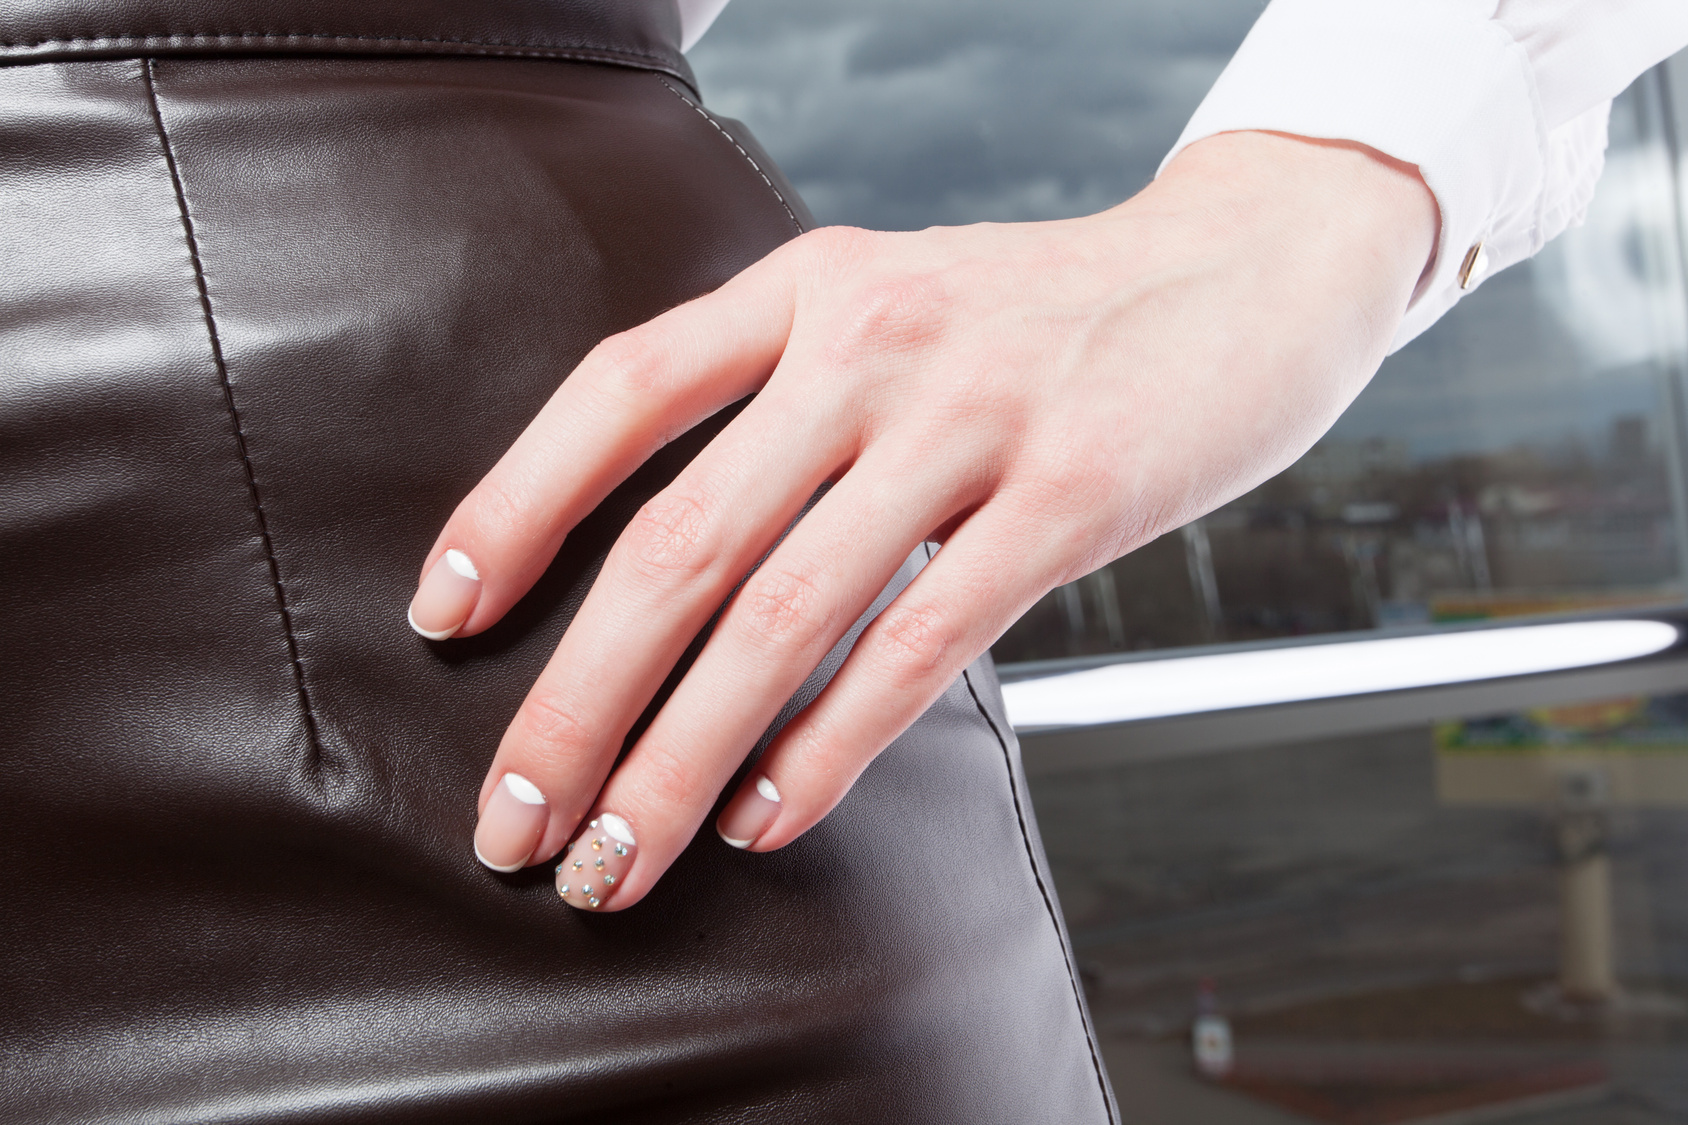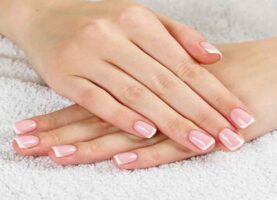
Although this technique is called “French manicure”, it comes to us from across the Atlantic. Indeed, it was in the United States that the principle of white varnish on the tips of the nails first appeared accompanied by a second natural varnish.
The goal is to give the impression that the nails are more elongated.
What you need to succeed in your French manicure
Before starting the manicure, you must be sure that you are equipped with all the essential accessories. Here is the list of equipment to have:
- a soft and cardboard nail file
- a polisher
- a boxwood stick
- a hardening base
- a corrective pen
- a white varnish
- a pink or beige varnish
- a brilliant fixator
Most of this equipment is usually found in manicure kits.
The French manicure in detail
To be sure to succeed in your French manicure, you will have to take your time and be precise in your gestures. It is better to take the time to correct your mistakes rather than get a failed rendering.
As a first step, it is necessary to prepare and set aside all the equipment mentioned above. Each accessory must be accessible quickly. Then, we will start by filing the nails and especially do not use scissors or nail clippers. Do not keep nails too long, since the principle of the French manicure is already to give an elongated appearance. To file it, the best is to go from the edge to the center.
Then, we will be able to soak our fingers in warm soapy water to soften the cuticles. We then grasp the boxwood stick with which we push back the cuticles. The next step is to take the polisher and rub the entire nails with it. The goal is to polish them and make them shiny.
Once this step is completed, we can move on to the vernissage. First of all, it is necessary to put a base or hardener in order to strengthen the nails. Wait for it to dry, then place the white varnish only on the tip of each nail and in a rounded shape. The best is to put your hand on a table to avoid skidding. In case of error, do not panic, just use a corrective pen or solvent via a cotton swab. There are small stickers to better achieve the rounded shape of the white part.
When the white varnish is dry, it is necessary to put the pink or beige varnish on the entire nail also covering the white varnish. We can then add a fixative for a longer duration and a more intense gloss.
We recommend that you use the adequate manicure and pedicure set to take care of your nails before applying any kind of decoration.


